Gear Haley Powers Gear Haley Powers

My Home Recording Studio Setup

For the past few years, I have gotten increasingly into learning about production, home recording, and mixing. In this blog, I want to show you what’s been worth the splurge and what I would put lower on my priority list for building a home recording studio!

Creating a home recording studio

For the past few years, I have gotten increasingly into learning about production, home recording, and mixing. It’s weirdly addicting and with everything I learn, I seem to uncover a new world of other things I need to learn! However, I also always seem to uncover a new world of things I need to buy (how many things can I count as a “business expense”...). If you happened to see my video last year about organizing music gear in a small one-bedroom apartment, you might know that I didn’t have a lot of gear to start with and at the time wasn’t prioritizing learning about production. I also didn’t have a space to record music, so overall, getting more gear wasn’t a priority (I had already had enough gear stuffed in random spots throughout my apt!). 

Now that I’m in my new space though, I can fly free and dive into learning and setting up my little studio spot. With that being said, I wanted to write this post both as someone who’s still in the middle of creating their perfect setup and who is also still learning! 

My current setup!

A good computer

It’s no secret a new MacBook with a ton of storage/RAM can be a little pricey. But it’s also extremely annoying when your computer shuts down just as you’ve finally recorded your perfect guitar solo! So having a good computer is pretty necessary when it comes to recording. Typically a desktop computer is a lot more powerful and less expensive than a laptop so that’s one option if you don’t care about taking your computer anywhere. One thing I love about a desktop is having a monitor — the two screens are nice especially for pulling up plug-ins and being able to see things better (I’m slowly becoming more and more blind so this is nice for me!). If you’re using a laptop, investing in another monitor can really make a difference as well! 

However, I like the portability of a laptop so I (not being in a place where I could put a ton of money into a new computer) got my husband’s old 2012 laptop and upgraded it by replacing the RAM and hard drive. It works great and I haven’t yet had space issues! If you are in a place where you can get a great computer right off the bat, that’s obviously the easiest option! 

Watch My YouTube Video to Learn More!


Creating a home recording studio

An Interface

My friend recently told me that of all the things, he would wait to upgrade his interface because of how quickly technology changes, yours might quickly become outdated. If you don’t know what an interface is for, basically it connects all your mic and guitar cables to the computer. I have been using the Scarlett 2i2 for years and never had a problem with it! It sounds clear and when I upgraded my mic, I noticed a huge difference in the sound so I am glad I upgraded that first (more on that later!). I’m going to be getting the Universal Audio interface soon though so I’ll see if that sounds that much more amazing (considering this interface is about $800-$1000 more than the Focusrite!). That being said, if you aren’t quite in a place where you can get a “fancy” interface, I do think you can get an inexpensive one and still make great-sounding music! 

Here’s my https://imp.i114863.net/rnEnN3

Headphones/ Studio Monitors

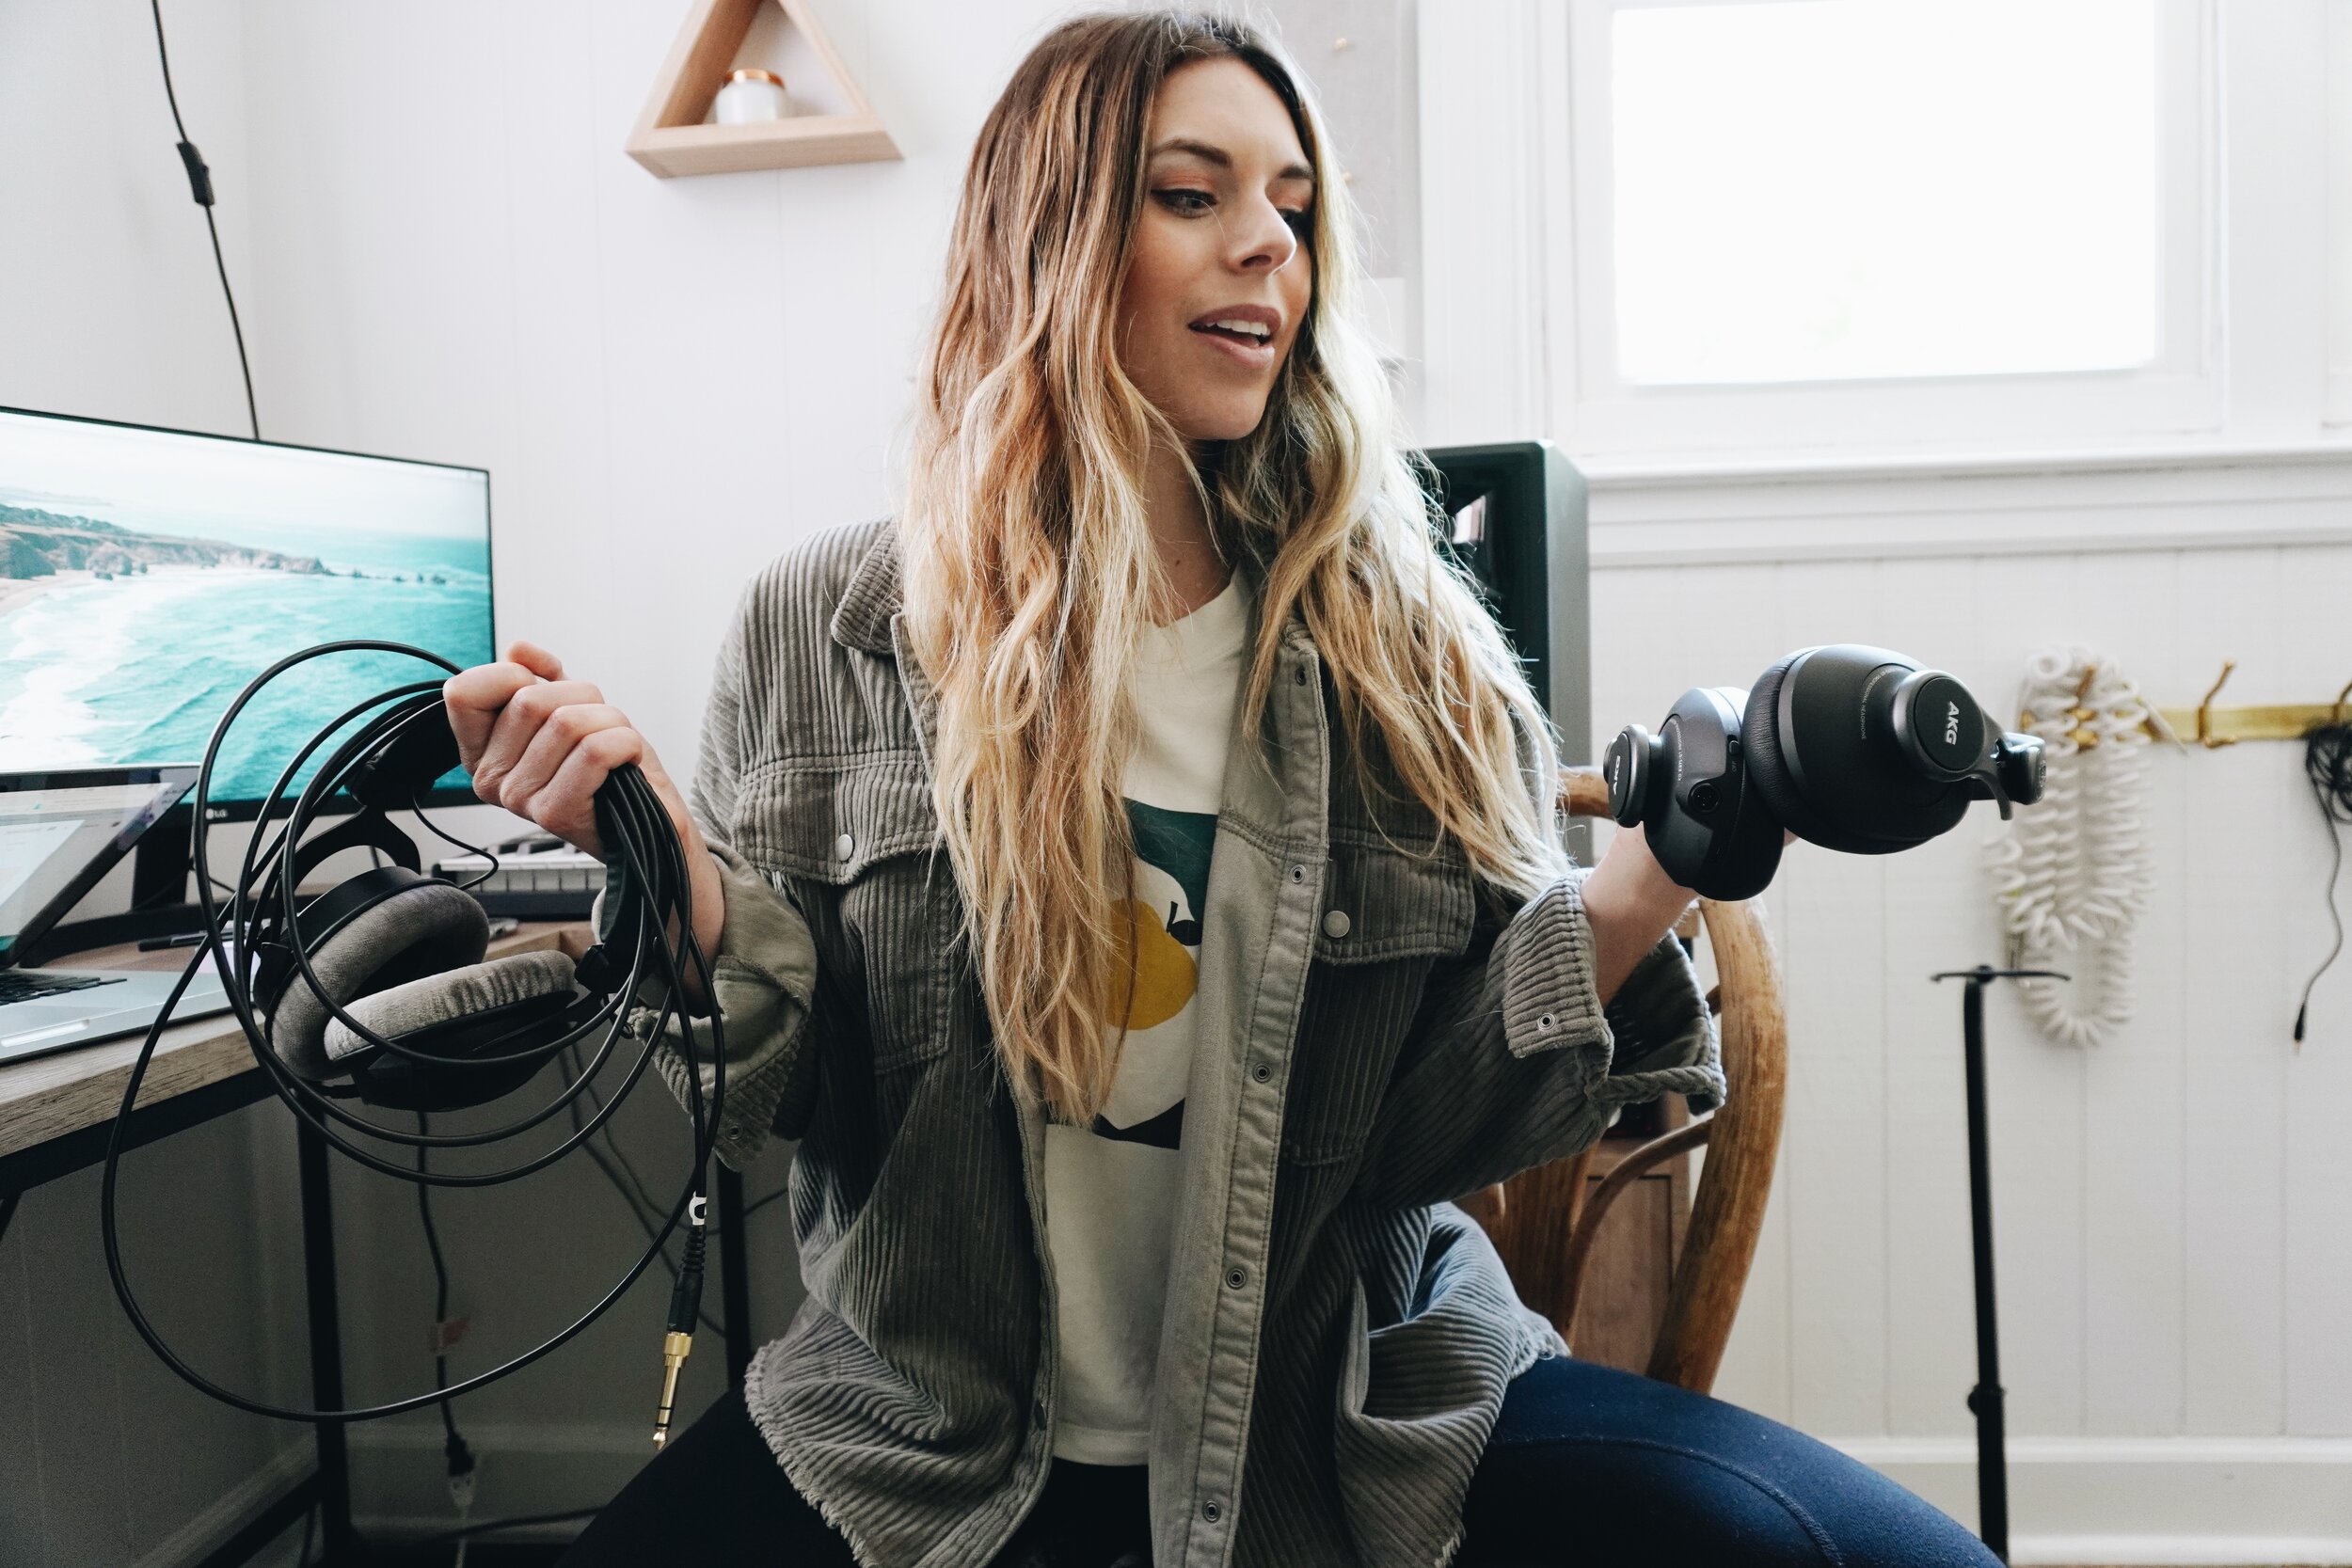
Here are the Beydynamic headphones I use (they are the DT 770 Pro 80 Ohm with individual calibration). I was surprised to see not all the reviews rave about them because mine are incredible! I honestly love these so much!

I have always heard it’s important to listen and mix alternating from headphones to monitors. For my apartment people, you might be better off investing in some nice headphones (I love these and these are a nice option as well if you want Bluetooth ability for listening to music). If I had to choose one, I would choose closed-back headphones and upgrade to monitors as well later. This is because you can’t record vocals/ mic anything if you only have monitors. I started with semi-closed back headphones and quickly decided to sell them because I could hear the click/ rest of the music anytime I recorded vocals! Having good headphones is also important because it affects your ability to hear the truest version of the mix/sound. I am obsessed with these — they sound incredible and are quite comfy (These were a splurge but have been worth every penny!). I do like these headphones too because you can even get them calibrated to make sure the sound is accurate for that specific pair of headphones! Another thing to look for is that they are comfy and don’t give you a headache/ squish your ears! 

For studio monitors, I got nice ones (I have these!) not long ago and love them. They sound incredible and I can hear a lot more of the details of my sound I didn’t know I was missing. Having giant studio monitors will also make you feel legit (which is super important in the process obviously ;) ). Even though I love them, I would choose to get nice headphones before getting studio monitors. 

Here is my new AKG C214

A Great Mic

Like I mentioned earlier, mics have been one of the biggest things I have been advised to buy nice. I had been using the same mic (it was this one and it did the job and sounded pretty good for the time!). Once I upgraded though, I realized what I was missing! The Shure SM7b is great (versatile, detailed, and not that expensive for what you get!) and I also love my new AKG mic. It’s challenged me a lot more having these mics because I now have no excuse for not mixing things perfectly because I know I am working with a quality recording. For me, my biggest challenge is living by a train and near an airport (I’ve transformed into this weirdo who regularly peers at the sky yelling “shut up planes!!!”). Anyway, a great mic is well worth it if you can afford it and you will notice a major difference in how professional your recordings sound.

I love this AKAI MPK 249! There’s really nothing it can’t do!

A Midi Keyboard

If you don’t care about playing sounds/ creating beats, this may not be important to you (you can always use musical typing on your computer keyboard!), but to me, having a midi has been important in my learning. To be honest, I don’t play the keyboard and have limited knowledge of amazing midis, but I did a lot of research on this particular midi. I love it! If you are a guitar player worried about learning piano for production, you can do a ton by ear and by editing the notes and beats after. So don’t be intimidated by this! DAWs make it easy to use them and unless you want a complicated piano part in your song, having limited piano knowledge won’t hinder you! Overall, I would say it’s worth investing in other parts of your studio first and then getting a midi after you have the essentials!


home recording studio setup

So those are the biggest things that I would prioritize in building a home studio. If you can get the perfect thing right off the bat, remember that’s ok and you can start small. Reverb.com has been an incredible resource for me in buying used gear and selling it so I don’t lose money buying new gear. I’ve gotten almost everything I have on there! Focusing on learning how to use a piece of gear and making the most of it is huge. A friend recently told me to upgrade once you have found a problem you need to solve and I thought that was a great mindset to have! For example, buying a new compressor plugin once you can hear something that none of the compressors that come with your DAW can do. Working with what you have and learning how to use it well is a lot better than having expensive things that you can’t use properly. 

Thank you so much for reading my post and I would love to know what you think below!

haley powers music


Read More
Gear Haley Powers Gear Haley Powers

Pedal Board Series: #1 The Foundation

If you are looking to start building a pedal board from the ground up, come here for most basic equipment recommendations.

pedal board letter board

When I was first starting to learn about pedal boards you could say I was a lil bit overwhelmed. Growing up playing country with my dad, he always used a multi-effects pedal (he has a Boss ME-80 which sounds great and is perfect if you want to keep things simple!)! However, meeting my now husband, John, in college, he got me into alternative and Christian music which uses way more reverb-y delay-y space type effects. Though we all teased John as his interest grew into more of an obsession and his room constantly sounded like ocean documentaries.  


Guitar Pedal

Then I realized, pedals are FUN!

 There are a million different types that help you create every sound in your head and you can find and trade them on Craigslist the second you get bored! I'm not going to lie though- in the beginning there are a few things that took some time to learn.


I am going to be posting more in the future on pedal boards if you are interested, but I thought today I would just start with an intro to building your board from the bottom up! 

1) Where do they come from?

Did you think of Cotton Eyed Joe too? (If so, I already want to be your friend!)

Like I mentioned earlier, I am a HUGE fan of Craigslist (especially in Nashville) if you can find what you are looking for. If not, I buy a lot in local music stores, on Amazon, and at Musicians Friend. All my links from here will be to Amazon!

My favorite music store in Nashville!

My favorite music store in Nashville!

2) The Board Itself

You can find some great pedal boards on Amazon. I have this Pedal Train 2, which is not only the perfect size but is also lightweight and easy to pick up (which is important to me!). If you know a wood worker, they could also make you one. So this is the bare bones!


3) The Power

This is what will give power to all the pedals on your board! You put it underneath the board and connect it to all your pedals using these small cables. I like/ have this Voodoo Lab Pedal Power 2 and these cables that go with it. 

!

4) Connector Cables

AKA baby cables! These little guys connect all your pedals together. I will be coming out with more blogs post soon on the order/ pedal options etc. These are a good set to start with (buy more depending on how many pedals you get).

5) Two Long Cables

Now all you need it one cable to connect your pedal board to your amp and one to connect your pedal board to guitar. 

6) Velcro Tape

We all know you missed velcro from your childhood, so making a pedal board will give you a great outlet to get re-acquainted with your roots! You will first use the velcro tape on each row of your pedal board. Then on each pedal you buy, stick the tape to the underside of the pedal to stick it on your board. Here's one!

So now you have the most basic components you need to start building your pedal board! There are obviously a ton more options and other opinions of the best gear than I used on this blog, but I tried to give you all universally liked and used options in a reasonable price range.

Voila!

Voila!

Let me know if you have any thoughts or questions on putting together your board and if you are in Nashville and wanting to take electric guitar lessons we can build your board together! Thanks for reading! 

 
haley powers
Read More

About/ Contact

Haley Powers

Featured Posts